Filling an Object with Blended Colors (Gradients)
You can fill shapes, tables, table cells, and chart elements with colors that blend into
each other, called color gradients.
To create color gradients in an object fill, use the options in the Graphic inspector. The
basic Gradient Fill options provide the easiest way to blend two colors in a straight
line. The Advanced Gradient Fill options allow you to blend multiple colors in your
gradient and to create a circular (radial) gradient.
To fill an object with a linear, two-color gradient:
1
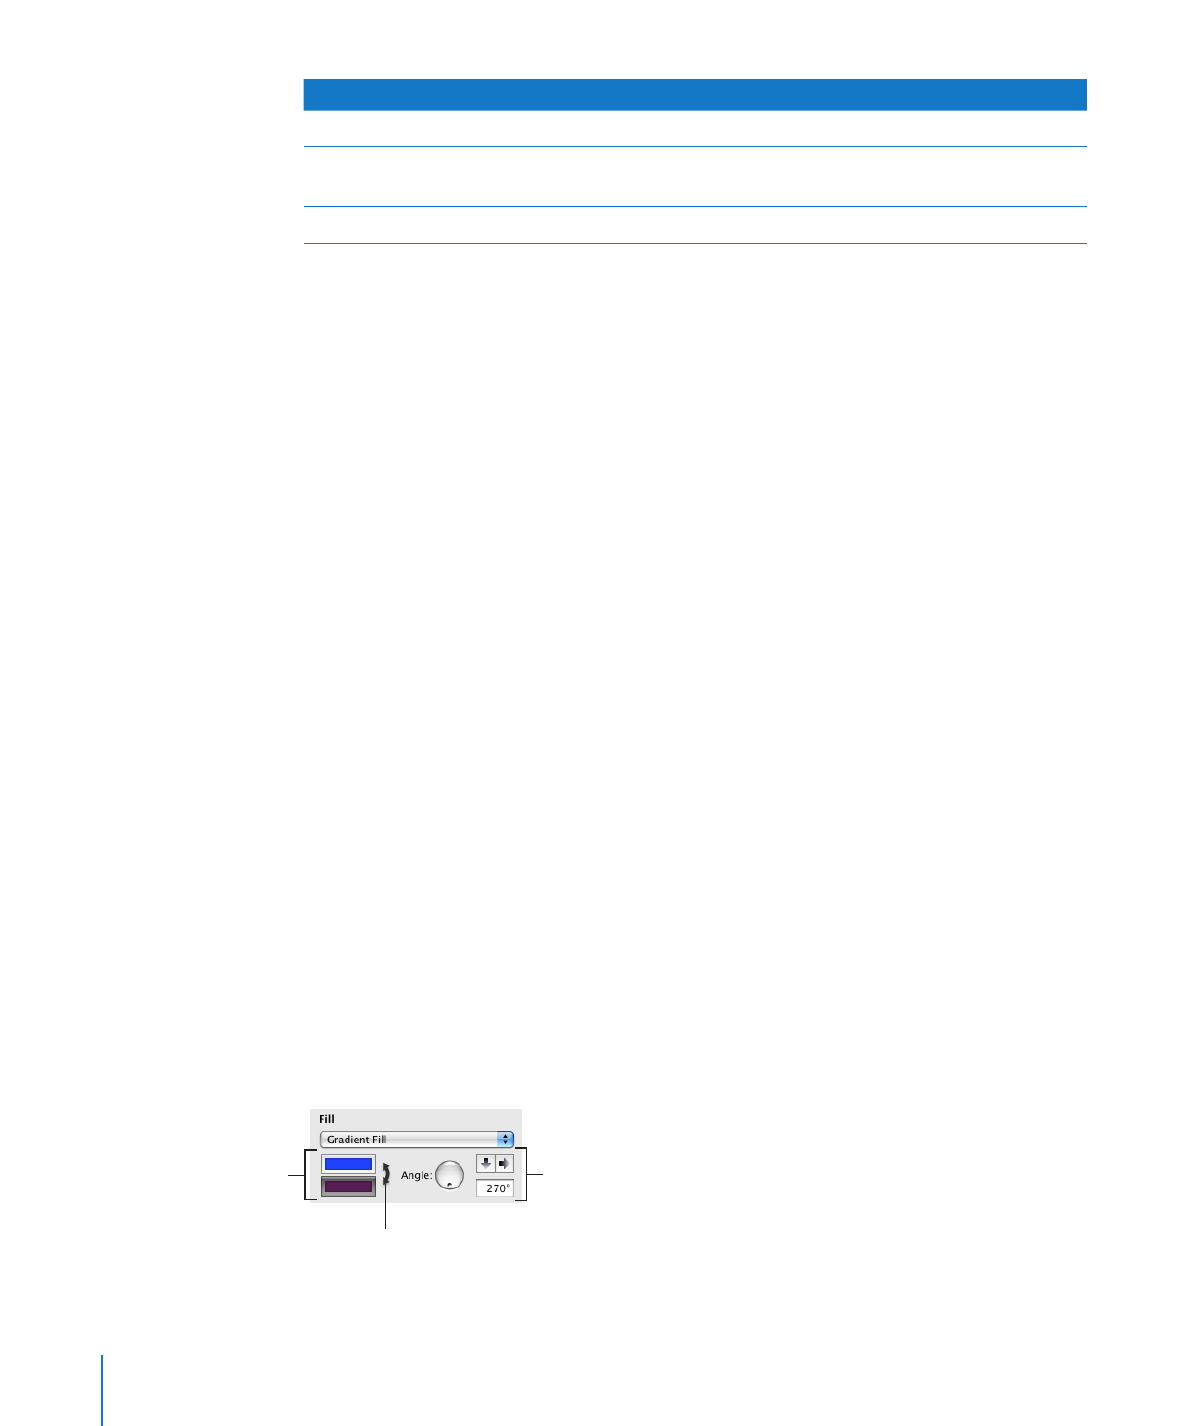
In the Graphic inspector, choose Gradient Fill from the Fill pop-up menu.
Click the double-headed
arrow to invert the gradient.
Flip the gradient orientation or
set its direction by using the
arrow buttons or the Angle
wheel, or by typing a value.
Click each color well
to select colors.
226
Chapter 9
Working with Shapes, Graphics, and Other Objects
Chapter 9
Working with Shapes, Graphics, and Other Objects
227
2
Click each color well and choose the colors you want to blend together in the
Colors window.
To learn more about using the Colors window, see “The Colors Window” on page 24.
3
To set a direction for the gradient, use the Angle wheel or field.
4
To flip it horizontally or vertically, click the Angle arrow buttons.
5
To invert the gradient, click the double-headed arrow next to the color wells.
To fill an object with a multi-color gradient:
1
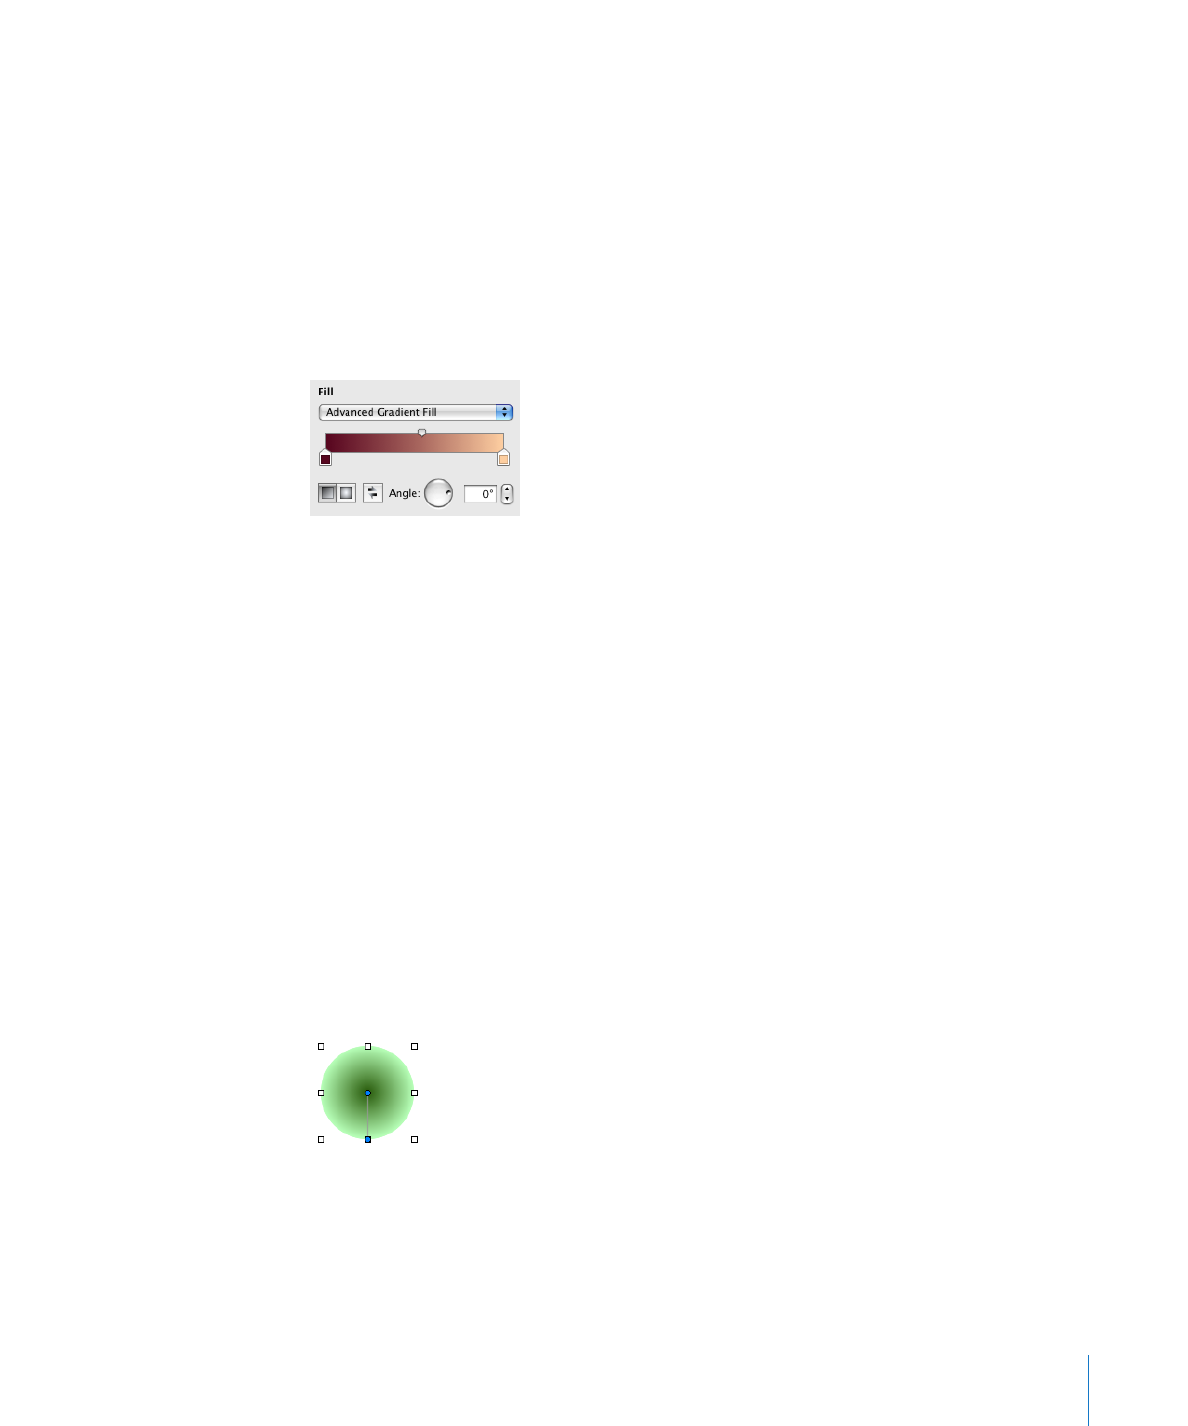
In the Graphic inspector, choose Advanced Gradient Fill from the Fill pop-up menu.
2
To add another color to the gradient, hold the pointer at the point just below the
gradient strip in the inspector where you want the new color to begin. When a plus (+)
sign appears, click to add a new color control. Add a new color control for each color
you want to appear in your gradient.
3
To change a color in the gradient, click a color control (just under the gradient strip),
and then select a color from the Colors window. Do this for each of the colors you
want to appear in your gradient.
4
If you want to remove a color control, drag it downward and away from the inspector.
It vanishes.
You must have at least two color controls under the gradient strip.
5
To change how sharply or subtly the colors blend along the gradient, drag the blend
point controls (on top of the gradient strip in the inspector).
6
To change the direction of a linear gradient, use the Angle wheel or field.
7
To create a radial gradient, click the radial gradient button. You can further adjust the
look of a radial gradient by doing any of the following:
To recenter the gradient in the object, drag the small, blue, circular blend point
Â
control (in the center of the gradient within your object) to where you want the
center to be.
To change how sharply or subtly the colors blend along the gradient, drag the
Â
circular blend point control outside your object, closer to or farther from the
gradient’s center.
Experiment with the circular blend point controls attached to your object and the
blend point controls above the gradient strip in the Graphic inspector, dragging
them until you create the look you want.
8
To invert the gradient, click the double-headed arrow next to the color wells.